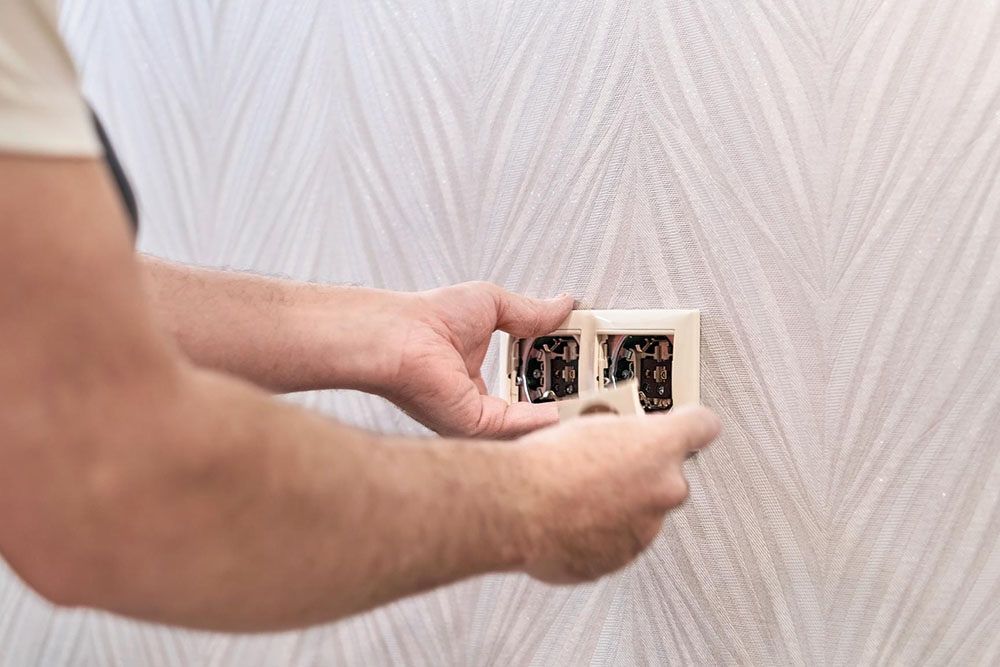
How to Convert a Light Switch to an Outlet

Upgrading your home often involves rethinking its electrical setup. One common project homeowners consider is converting a light switch into an outlet. But before you grab your toolbox, it's essential to understand the steps involved and the safety precautions required. And if you're in Apopka, FL, and need professional assistance, Spectrum Electric is here to help.
Why Convert a Light Switch to an Outlet?
Converting a light switch to an outlet can be beneficial for several reasons:
- Increased functionality: An outlet can power various devices and appliances.
- Convenience: An additional outlet means fewer extension cords and adapters.
- Aesthetic improvement: Modern outlets can improve the look of a room.
However, this project requires a solid understanding of electrical systems, and it's crucial to ensure the job is done safely and correctly.
Tools and Materials You'll Need
Before starting, gather the following tools and materials:
- Screwdriver (flathead and Phillips)
- Wire cutters/strippers
- Voltage tester
- New electrical outlet
- Electrical tape
- Wire connectors
- Circuit tester
- Electrical box (if needed)
Step-by-Step Guide to Converting a Light Switch to an Outlet
1. Turn Off the Power
Safety first! Locate your home's electrical panel and turn off the circuit breaker that controls the light switch you plan to convert. Use a voltage tester to ensure the power is off before proceeding.
2. Remove the Light Switch Cover
Using a screwdriver, remove the screws holding the light switch cover plate and set it aside.
3. Disconnect the Light Switch
Carefully unscrew the light switch from the electrical box. Pull the switch out gently, exposing the wires connected to it.
4. Identify and Label the Wires
Take note of the wire connections. Typically, you'll have a black (hot) wire, a white (neutral) wire, and a green or bare copper (ground) wire. Label them for easy identification.
5. Prepare the Wires for the Outlet
Remove the light switch by unscrewing the wire connectors. Straighten the ends of the wires using wire cutters/strippers, ensuring they are clean and free from any damage.
6. Install the New Outlet
Connect the wires to the new outlet as follows:
- Black wire to the brass terminal (hot)
- White wire to the silver terminal (neutral)
- Green or bare copper wire to the green terminal (ground)
Secure the wires with the terminal screws and ensure they are tightly connected.
7. Secure the Outlet in the Electrical Box
Carefully push the outlet back into the electrical box, ensuring no wires are pinched or exposed. Use the screws provided with the outlet to secure it in place.
8. Attach the Outlet Cover Plate
Place the outlet cover plate over the outlet and secure it with the screws. Ensure it fits snugly and evenly.
9. Turn On the Power
Return to the electrical panel and turn the circuit breaker back on. Use a circuit tester to verify that the outlet is working correctly.
When to Call a Professional
While converting a light switch to an outlet can be a DIY project, it's not without risks. If you're unsure about any step or encounter any problems, it's best to consult a professional. Electrical work requires precision and knowledge to ensure safety and compliance with local codes.
If you need assistance, contact Spectrum Electric. Our team of experienced electrical contractors in Apopka, FL can handle all your electrical needs, ensuring the job is done safely and efficiently.
Benefits of Hiring Spectrum Electric
- Expertise and Experience: Our contractors have years of experience and are well-versed in local electrical codes and regulations.
- Safety: We prioritize safety in all our projects, ensuring your home and family are protected.
- Quality Workmanship: We take pride in our work and strive to provide top-notch service and results.
- Efficiency: We complete projects efficiently, minimizing disruption to your daily life.
Common Questions About Converting a Light Switch to an Outlet
Can I Convert Any Light Switch to an Outlet?
Not all light switches can be converted to outlets. The feasibility depends on the existing wiring and the circuit's capacity to handle additional load. It's best to consult an electrician to determine if your light switch can be safely converted.
Do I Need a Permit for This Project?
In many areas, electrical work requires a permit to ensure safety and code compliance. Check with your local building department or consult an electrician to determine if a permit is needed for your project.
How Much Does It Cost to Convert a Light Switch to an Outlet?
The cost of converting a light switch to an outlet can vary based on factors such as the complexity of the project, the materials used, and whether you hire a professional. On average, you can expect to pay between $75 to $200.
What Should I Do If I Encounter Problems During the Conversion?
If you encounter any issues or uncertainties during the conversion process, it's best to stop and consult a professional electrician. Attempting to fix electrical problems without proper knowledge can be dangerous.
Conclusion
Converting a light switch to an outlet can enhance your home's functionality and convenience. Whether you choose to tackle this project on your own or hire a professional, it's crucial to prioritize safety and adhere to local electrical codes.
For residents in Apopka, FL, Spectrum Electric is here to assist with all your electrical needs. Our team of experienced electrical contractors in Apopka, FL can ensure your project is completed safely and efficiently.
Call to Action
Ready to enhance your home's electrical setup? Contact Spectrum Electric today to schedule an appointment with our expert electricians. We're here to help you every step of the way.
